My Personal Projects
Otteri-synth
![]()
Cause otters like to play!
Table of Contents
Introduction
For fun I wanted to create a synthesizer that looks like an otter. It should be my daughters first synth :)
In these modern times I wanted to leverage what new tools have been available to design this project. In my mind I had a clear vision how the synth should look and play. I never did such a project before, so it was also a learning experience for me.
Design
As the base I generated an image using DALL-E and fed it into TRELLIS.
The prompt was:
Create a prototype of a synthesizer case.
White background, it is important that there is no background at all in the image. Should be childrens style, cool design and possible to 3d print on a 3d printer. I want to actually implement the case and use it for a synth project.
The synth should somewhat look like an otter.

# after some back and forth with some prototypes that had too many hands :P
There are too many hands, start over with an otter design, surprise me with a new and cool idea
In the end I was able to create an image in DALL-E that exactly matched what I had in mind.

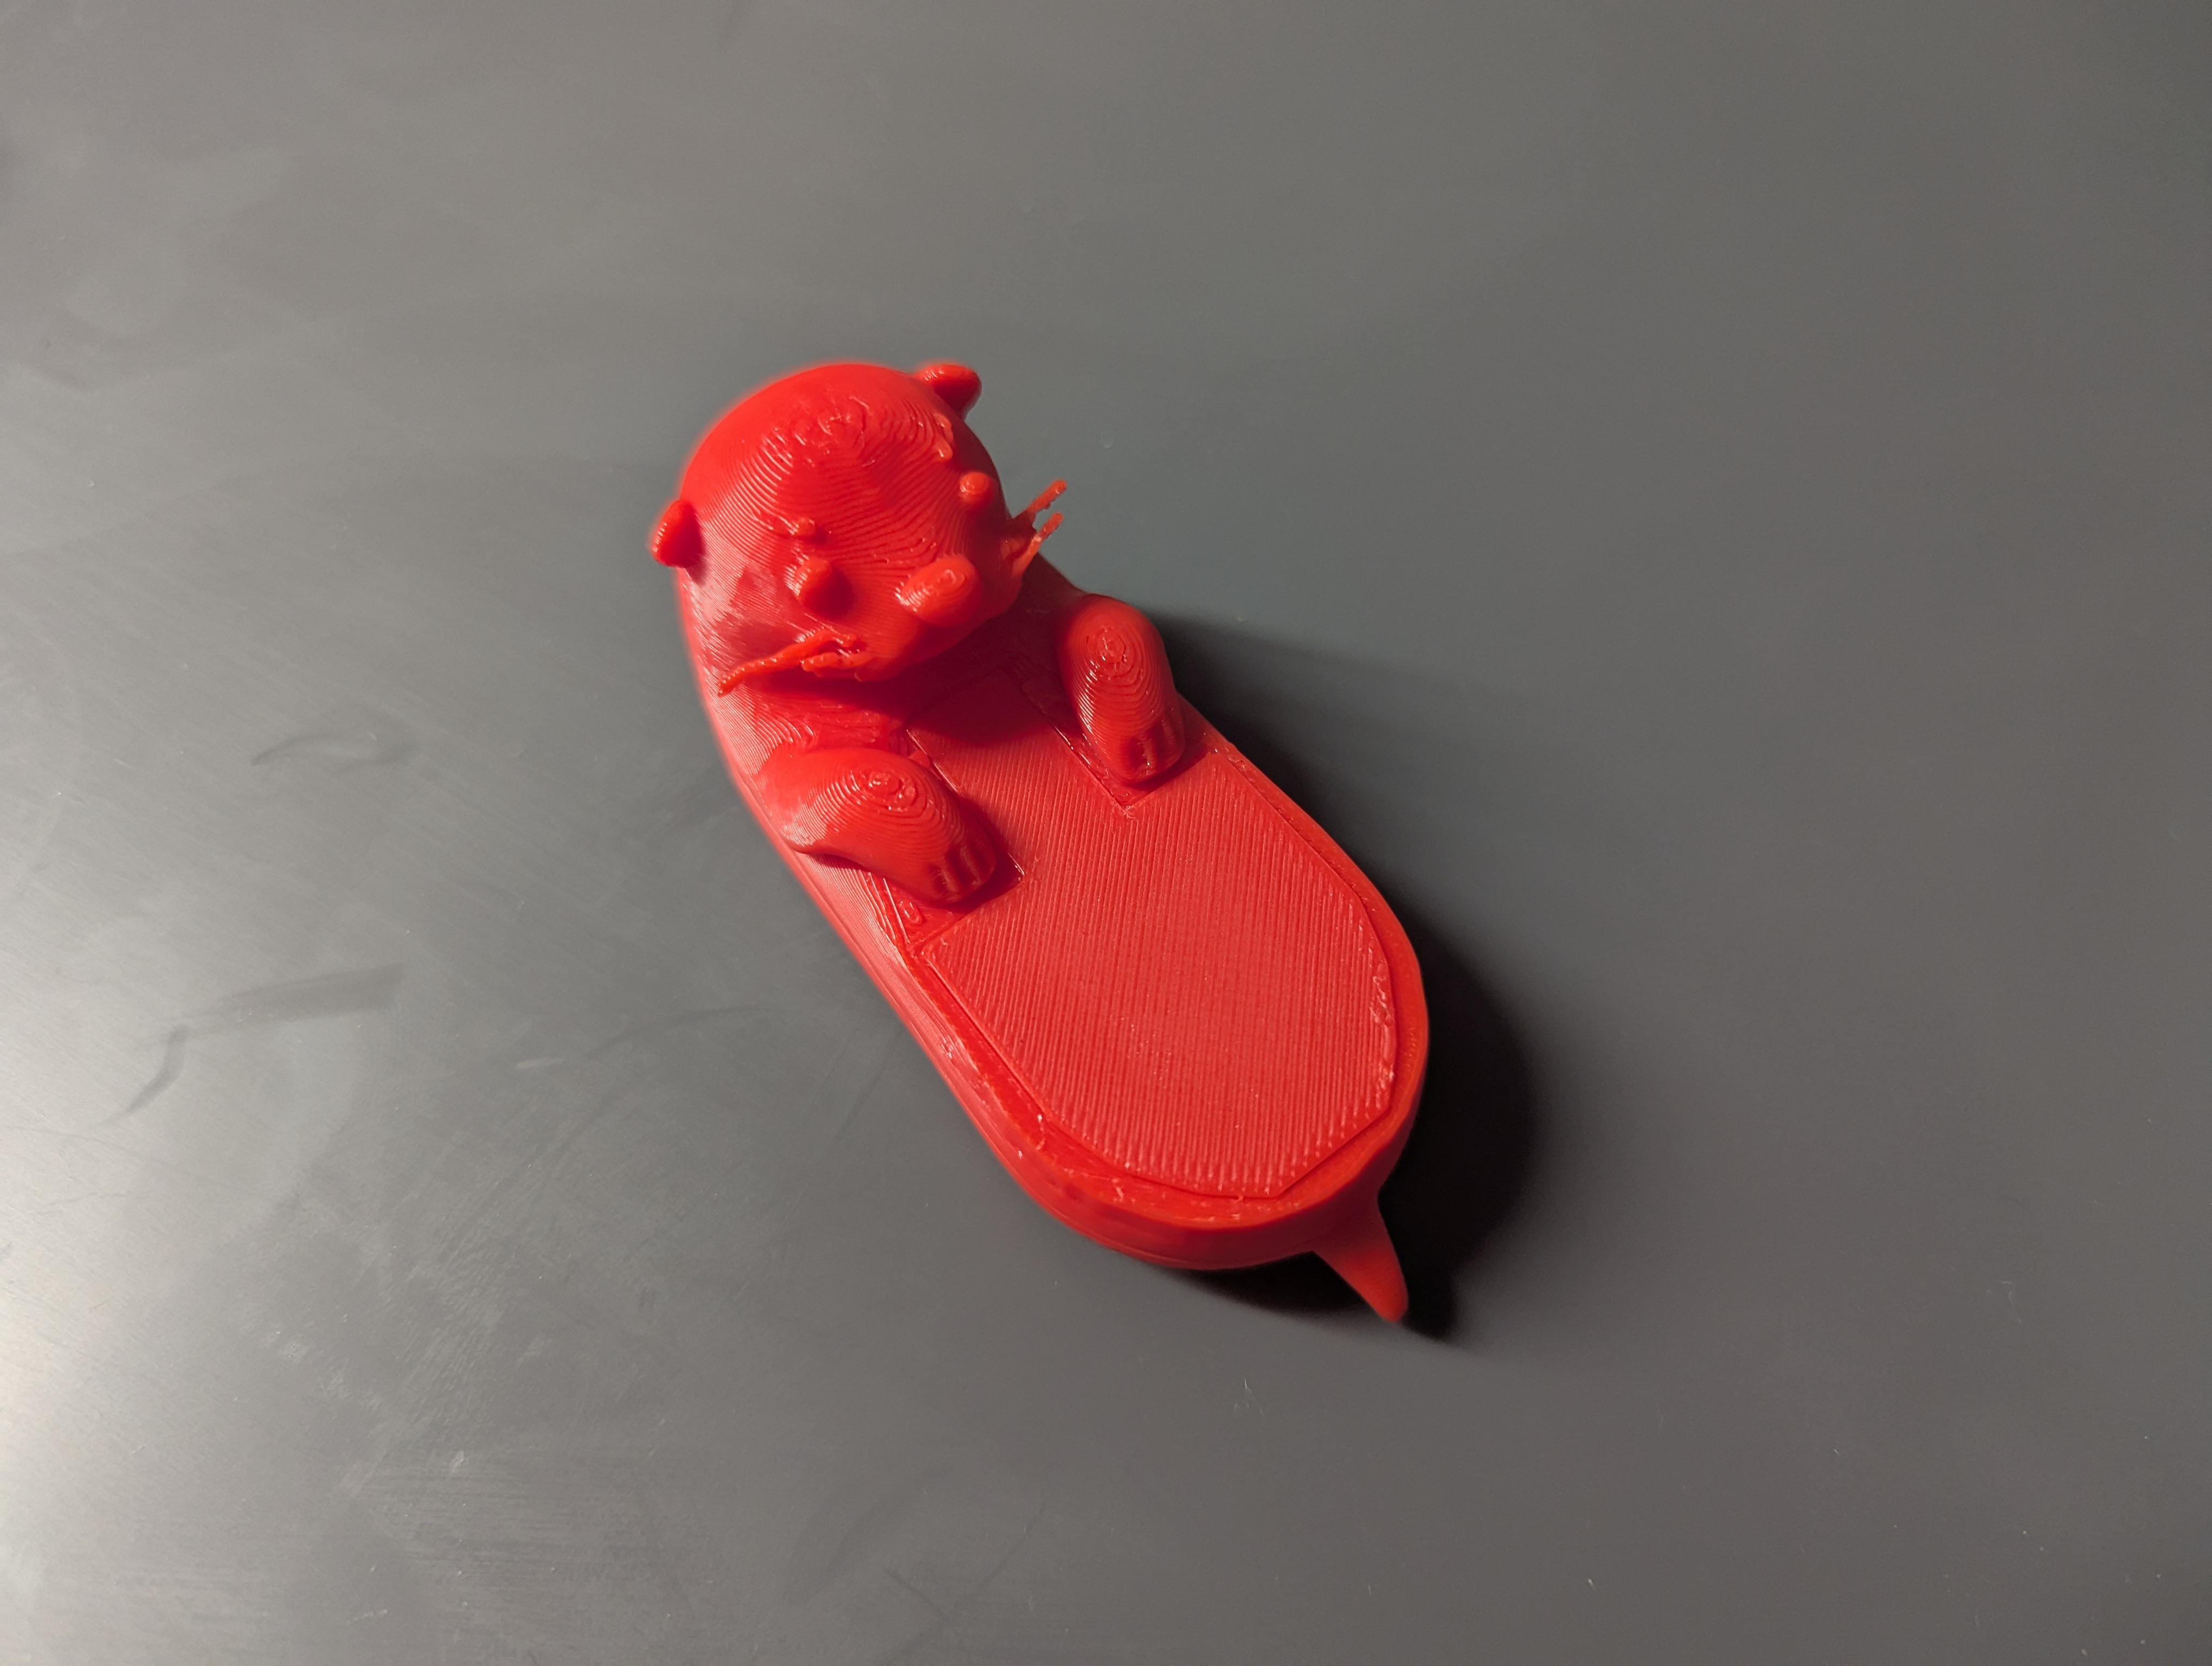
TRELLIS created an amazing mesh out of it that I could directly use as a starting point in Blender. You can find and download the mesh here.
I then adapted the generated mesh to my liking and needs.
Hardware
Because I have a 3d printer, the case and inner works was specially made for this synth.
Parts List
Here is a quick overview of the used parts. A detailed description can be found below.
| Part | Amount | Description |
|---|---|---|
| 3D Printed Case | 1 | Custom case to house all components |
| Teensy 3.2 | 1 | Microcontroller for handling audio processing |
| Teensy Audio Shield | 1 | Audio processing shield for Teensy |
| Adafruit MAX7944 | 1 | Amplifier for driving the speakers |
| 4Ohm 5W 40mm Speakers | 2 | Small speakers for audio output |
| Arcade Buttons | 10 | Durable buttons for user interaction |
| DC-015 circular power plug | 1 | Power plug for the synth |
| M5Stack Buck Converter 5 V | 1 | 12V to 5V converter for Teensy power |
| Ground Loop isolator | 1 | Prevent hum sound in speaker |
| Various Wires | - | Wiring for connecting all components |
Case
The initial prototype was small, but after confirming its success, I scaled up the design to accommodate robust electronics suitable for a child's enthusiastic use.

I opted for durable arcade buttons to withstand frequent interaction.

Microcontroller
The core of the Otteri-synth is powered by a Teensy 3.2 with the Teensy Audio Shield as I still had them laying around at home.
The Teensy is excellent for synthesizer projects due to its high-performance ARM Cortex-M4 processor and real-time audio processing capabilities,
I'm a big fan of the teensy boards!
Amplifier & speakers
Another component I still had laying around at home was an Adafruit MAX7944 amplifier. For the speakers size, this will be more then enough.
As speakers I'm using 2 4Ohm 3W 40mm. They might be a little small, but should do the job.
Power management
Teensy supports 5V power input, the amplifier needs 12V. In order to now have 2 inputs for power, I'm using a Buck Converter - U125 - ME3116AM6G Step-Down Voltage Converter Unit, 5V, 1A to have the 12V shared input stepped down to 5V for the teensy:
          +---------------+
          |  12V Supply   |
          +---------------+
                |   |
                |   |
         +------+   +------+
         |                 |
  [Buck Converter]         |
         |                 |
      5V Output        12V Output
         |                 |
   +-----+----+      +-----+-----+
   |  Teensy  |      | Amplifier |
   |   3.2    |      | (MAX9744) |
   +----------+      +-----------+
         |                 |
         +-- Common Ground --------+
To be able to re-use standard 12V power adapters, I prepared a hole at the back of the synth and added a circular power plug.
Wiring diagram

| Button | Pin | Description |
|---|---|---|
| Button 0 | 0 | Play note C |
| Button 1 | 1 | Play note D |
| Button 2 | 2 | Play note E |
| Button 3 | 3 | Play note F |
| Button 4 | 4 | Play note G |
| Button 5 | 5 | Play note A |
| Button 6 | 8 | Play note B |
| Button 7 | 21 | Play note C |
| Button 8 | 20 | Change preset (instrument) + volume |
| Button 9 | 17 | Change octave + volume |
Additional note: I added the functionality to change the volume by holding down Button 8 and Button 9 simultaneously and then changing the volume down or up with Button 0 and Button 1.
Final print config
The first half I printed had way too small dowels. So they ended up breaking when being inserted into the body.
So in try 2, I cut the Otter in Bambu Studio, using hexagons dowels with length 2cm and 1.5cm diameter as connectors. Initially I had a small gap between the two pieces. So I manually reduced the length of the dowels and re-printed just these.
TODO: Add 3mf file of project...
Putting it all together
A first circuit prototype was made with a breadboard and some initial buttons I had still at home. The order for the remaining buttons was on it's way.

To fix the plate with the buttons to the body of the synth, I got melt threads in M3 size, like these:

In Blender I prepared the matching 4mm holes to fix the threads in.

The first full print was a success (even if the filament ran out and I had to switch to a different color to finish the print). I was able to verify my design and continue with the final hardware steps.

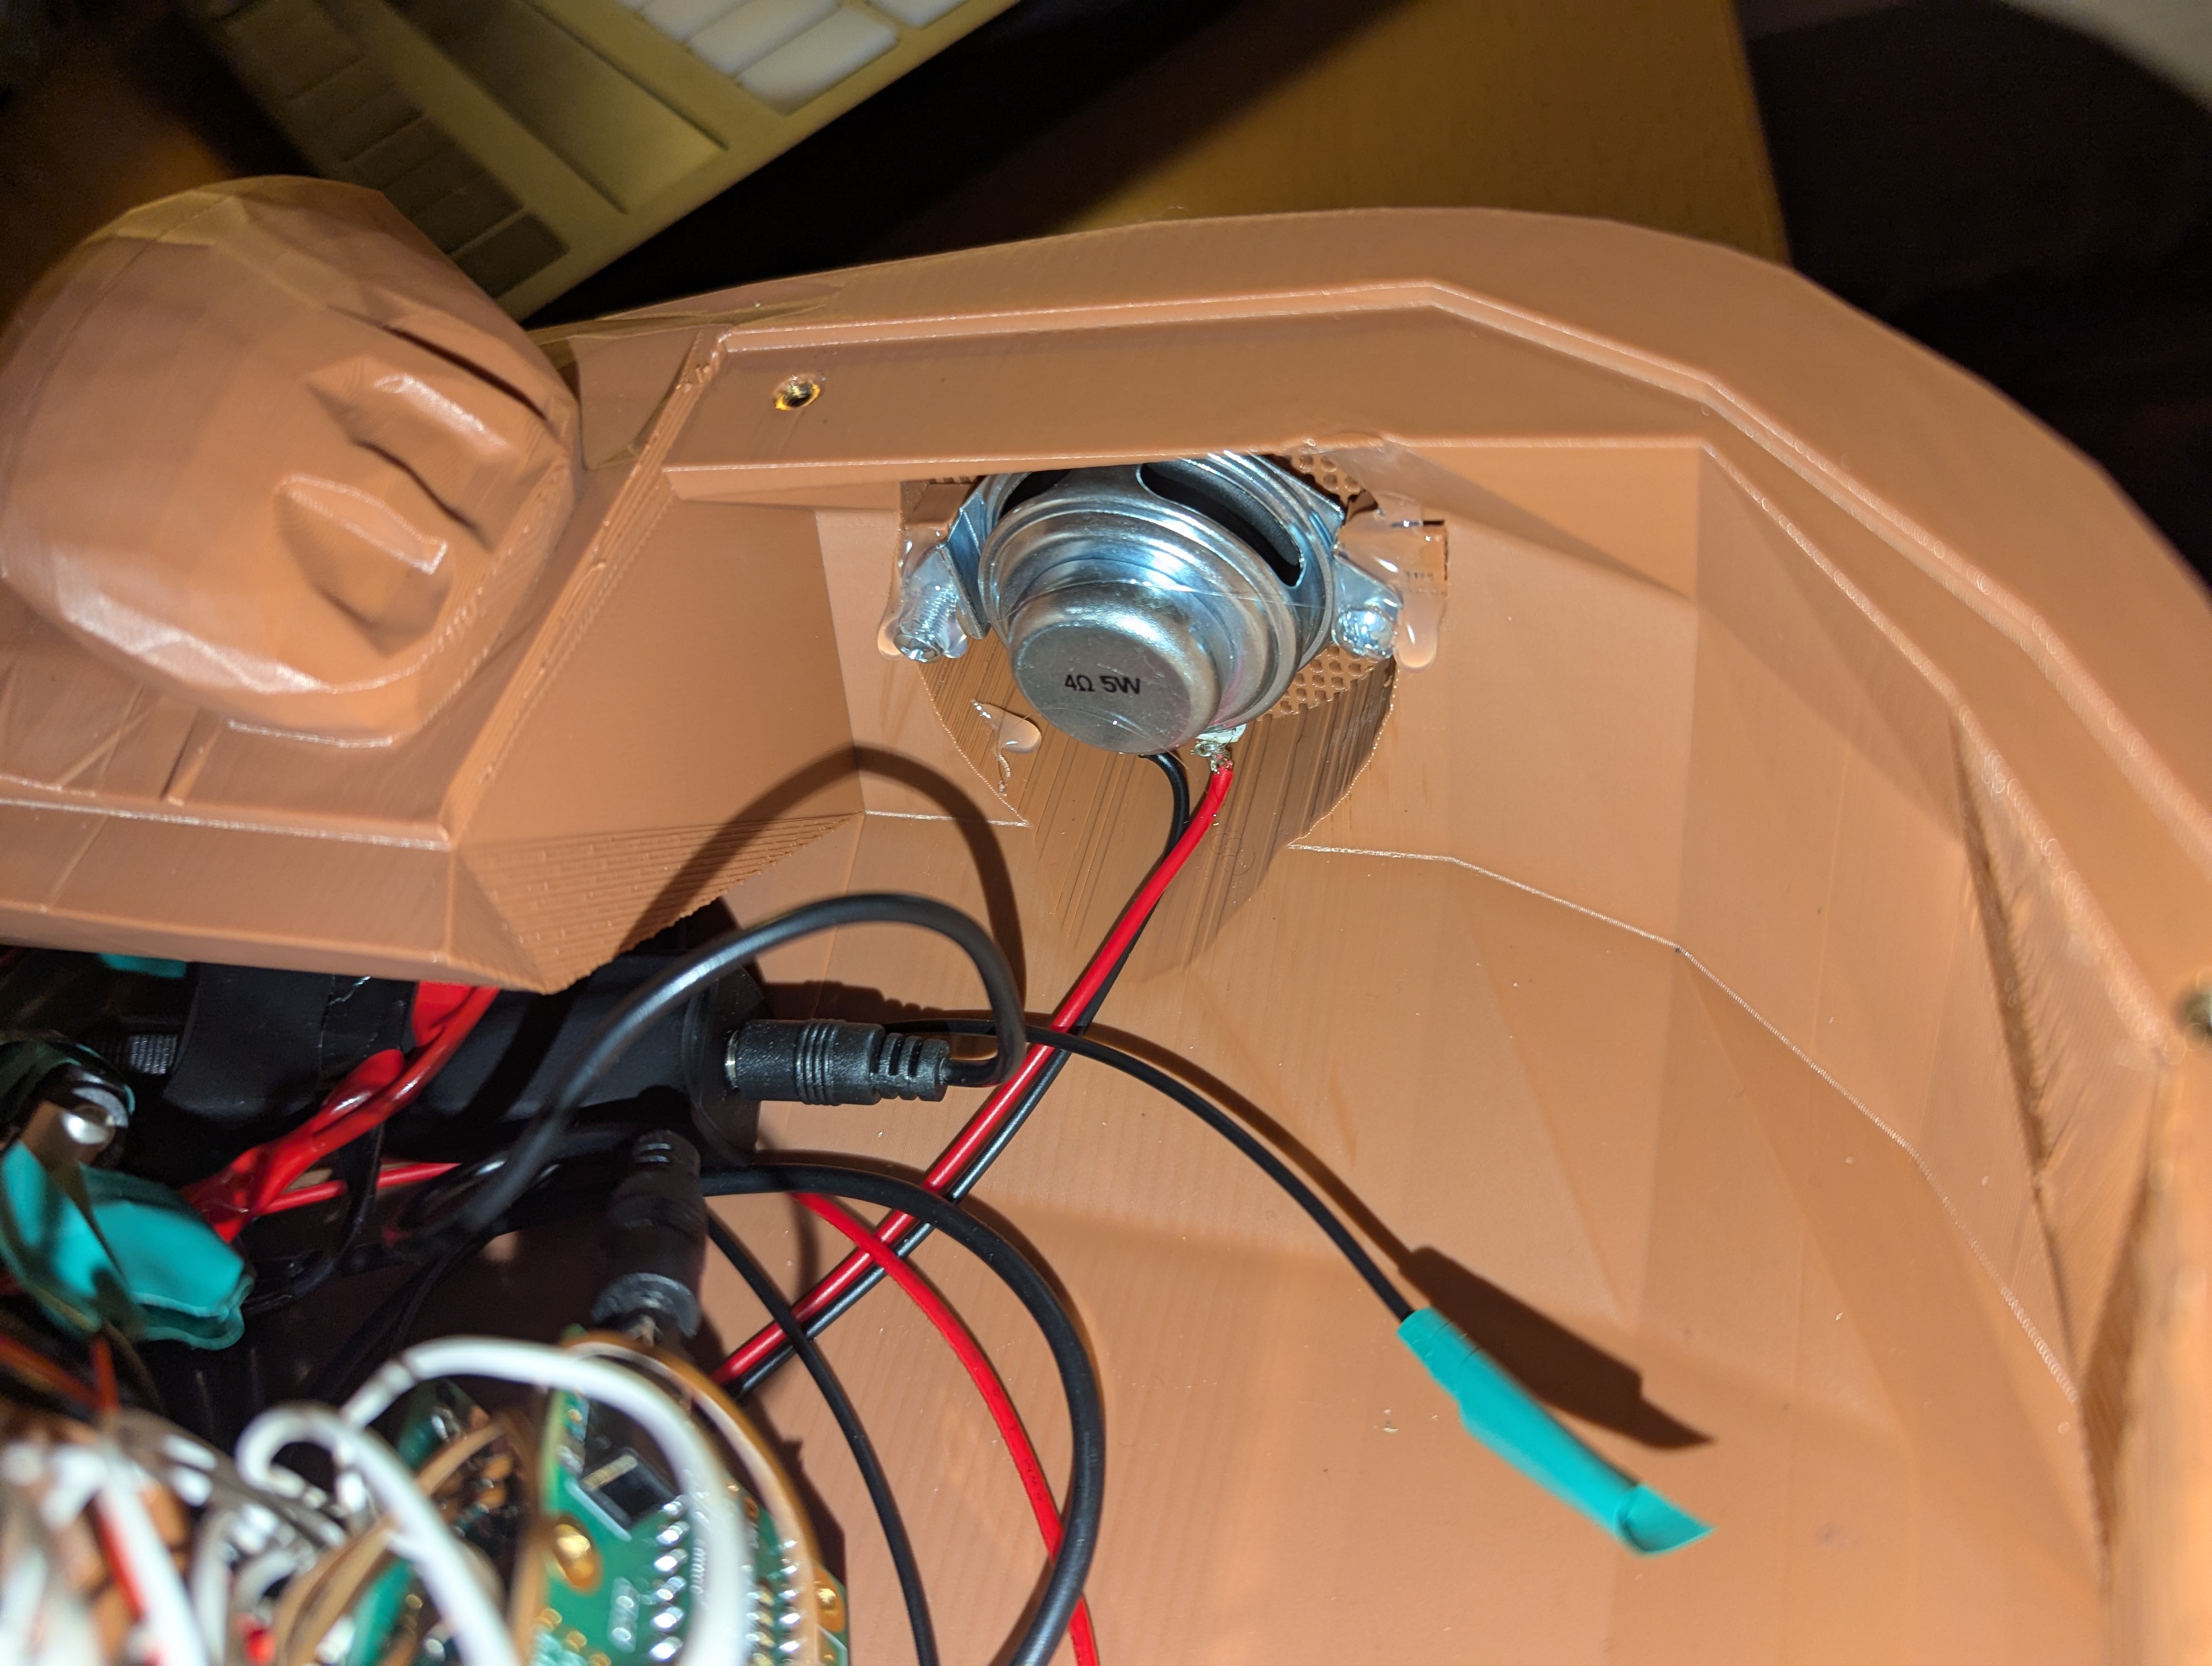
I had to change the speaker because my initial one sounded very bad. The new one had holes on the side to proper fix the speaker to the case.

KiCad
Initially I had the idea to create and print a custom PDB for this project. But after designing it and realizing the simplicity, I went with a prefboard setup.
Nevertheless, I went through the steps of creating the project and gerber files for the synth in Kicad as a learning excercise. I started with importing the footpint into KiCad, arranging the schematics and drawing the PCB.
Importing Teensy into KiCad
Download Teensy files from:
And add them following these steps:
- Open the Footprint Editor: From the main window in KiCad, navigate to Tools > Footprint Editor.
- Manage Footprint Libraries (Symbol in the opened window):
- Within the Footprint Editor, go to Preferences > Manage Footprint Libraries.... You’ll see two tabs: "Global Libraries" (libraries available to all projects) and "Project Specific Libraries" (libraries only available to the current project).
- To add a new library, click the “+” button under the appropriate tab. Point the file browser to the directory containing your .kicad_mod files. Select this directory as your library directory and provide a nickname for easy reference.
- Confirm your addition by clicking "OK".
Step 2: Manage Symbol Libraries
-
Access the Library Management: In the Symbol Editor, go to Preferences > Manage Symbol Libraries.... This opens the Symbol Libraries Manager where you can add, remove, or modify symbol libraries.
-
Add a New Library:
- Click on the "Project Specific Libraries" tab to add the library only to your current project, or choose the "Global Libraries" tab to add the library to all KiCad projects on your system.
- Click the ‘+’ button at the bottom of the window to add a new library entry.
-
Specify Library Details:
- Nickname: Enter a nickname for the library. This nickname will be used to reference the library within KiCad.
- Library Path: Click on the folder icon next to the ‘Library Path’ field to browse to the location where you extracted your .lib file. Select the .lib file.
- Plugin Type: Ensure the plugin type is set to ‘Legacy’ for .lib files. The .dcm file, if located in the same directory, will automatically be linked for documentation purposes, so there's no need to do anything extra for it.
-
Confirm and Close:
- After entering all details, click “OK” to add the library.
- Close the Library Manager by clicking "OK" again.
Schematics and PCB design
The schematics is created according the planned out pin setup above.

Out of the schematics, I was able to create an initial, simple PCB design.
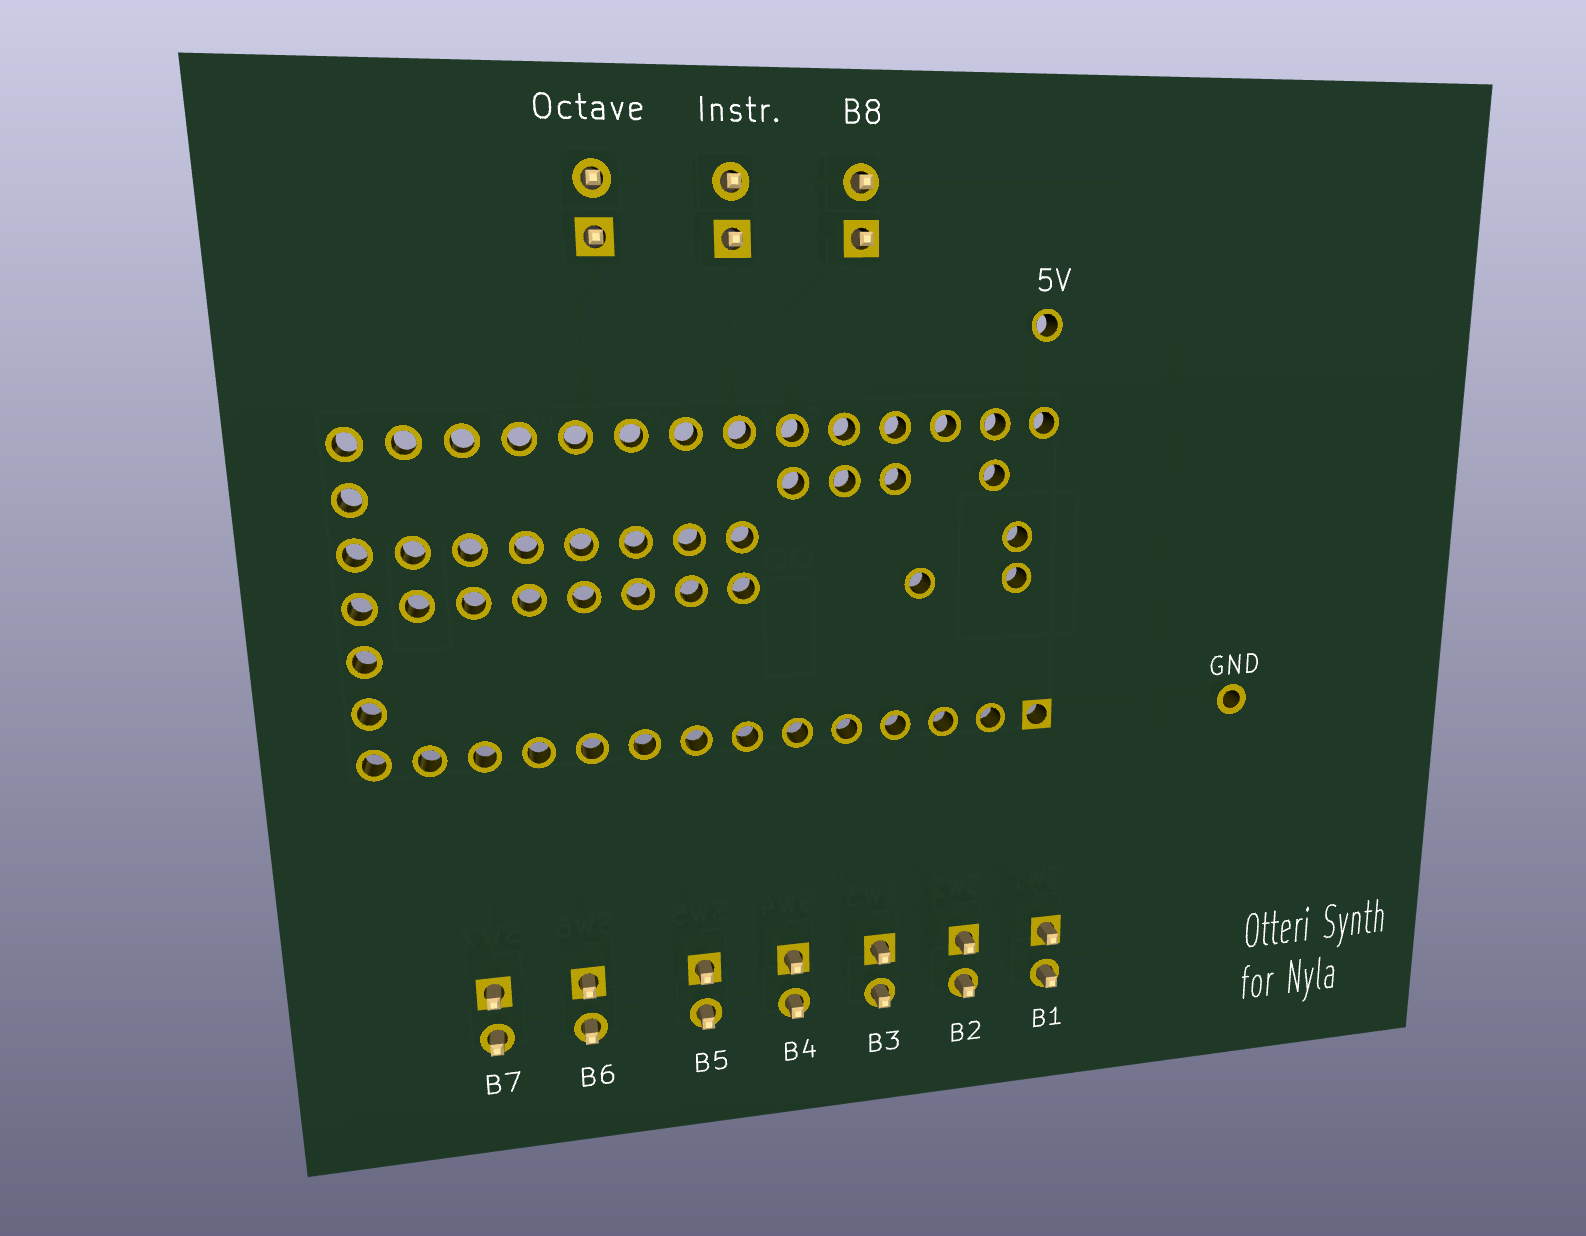

The files can be downloaded here:
Implementation using Perf Board
Because the board was so simple, I ended up using a perf board and did the manual path setup using solder.

It does not look very nice, but works well and is sturdy.
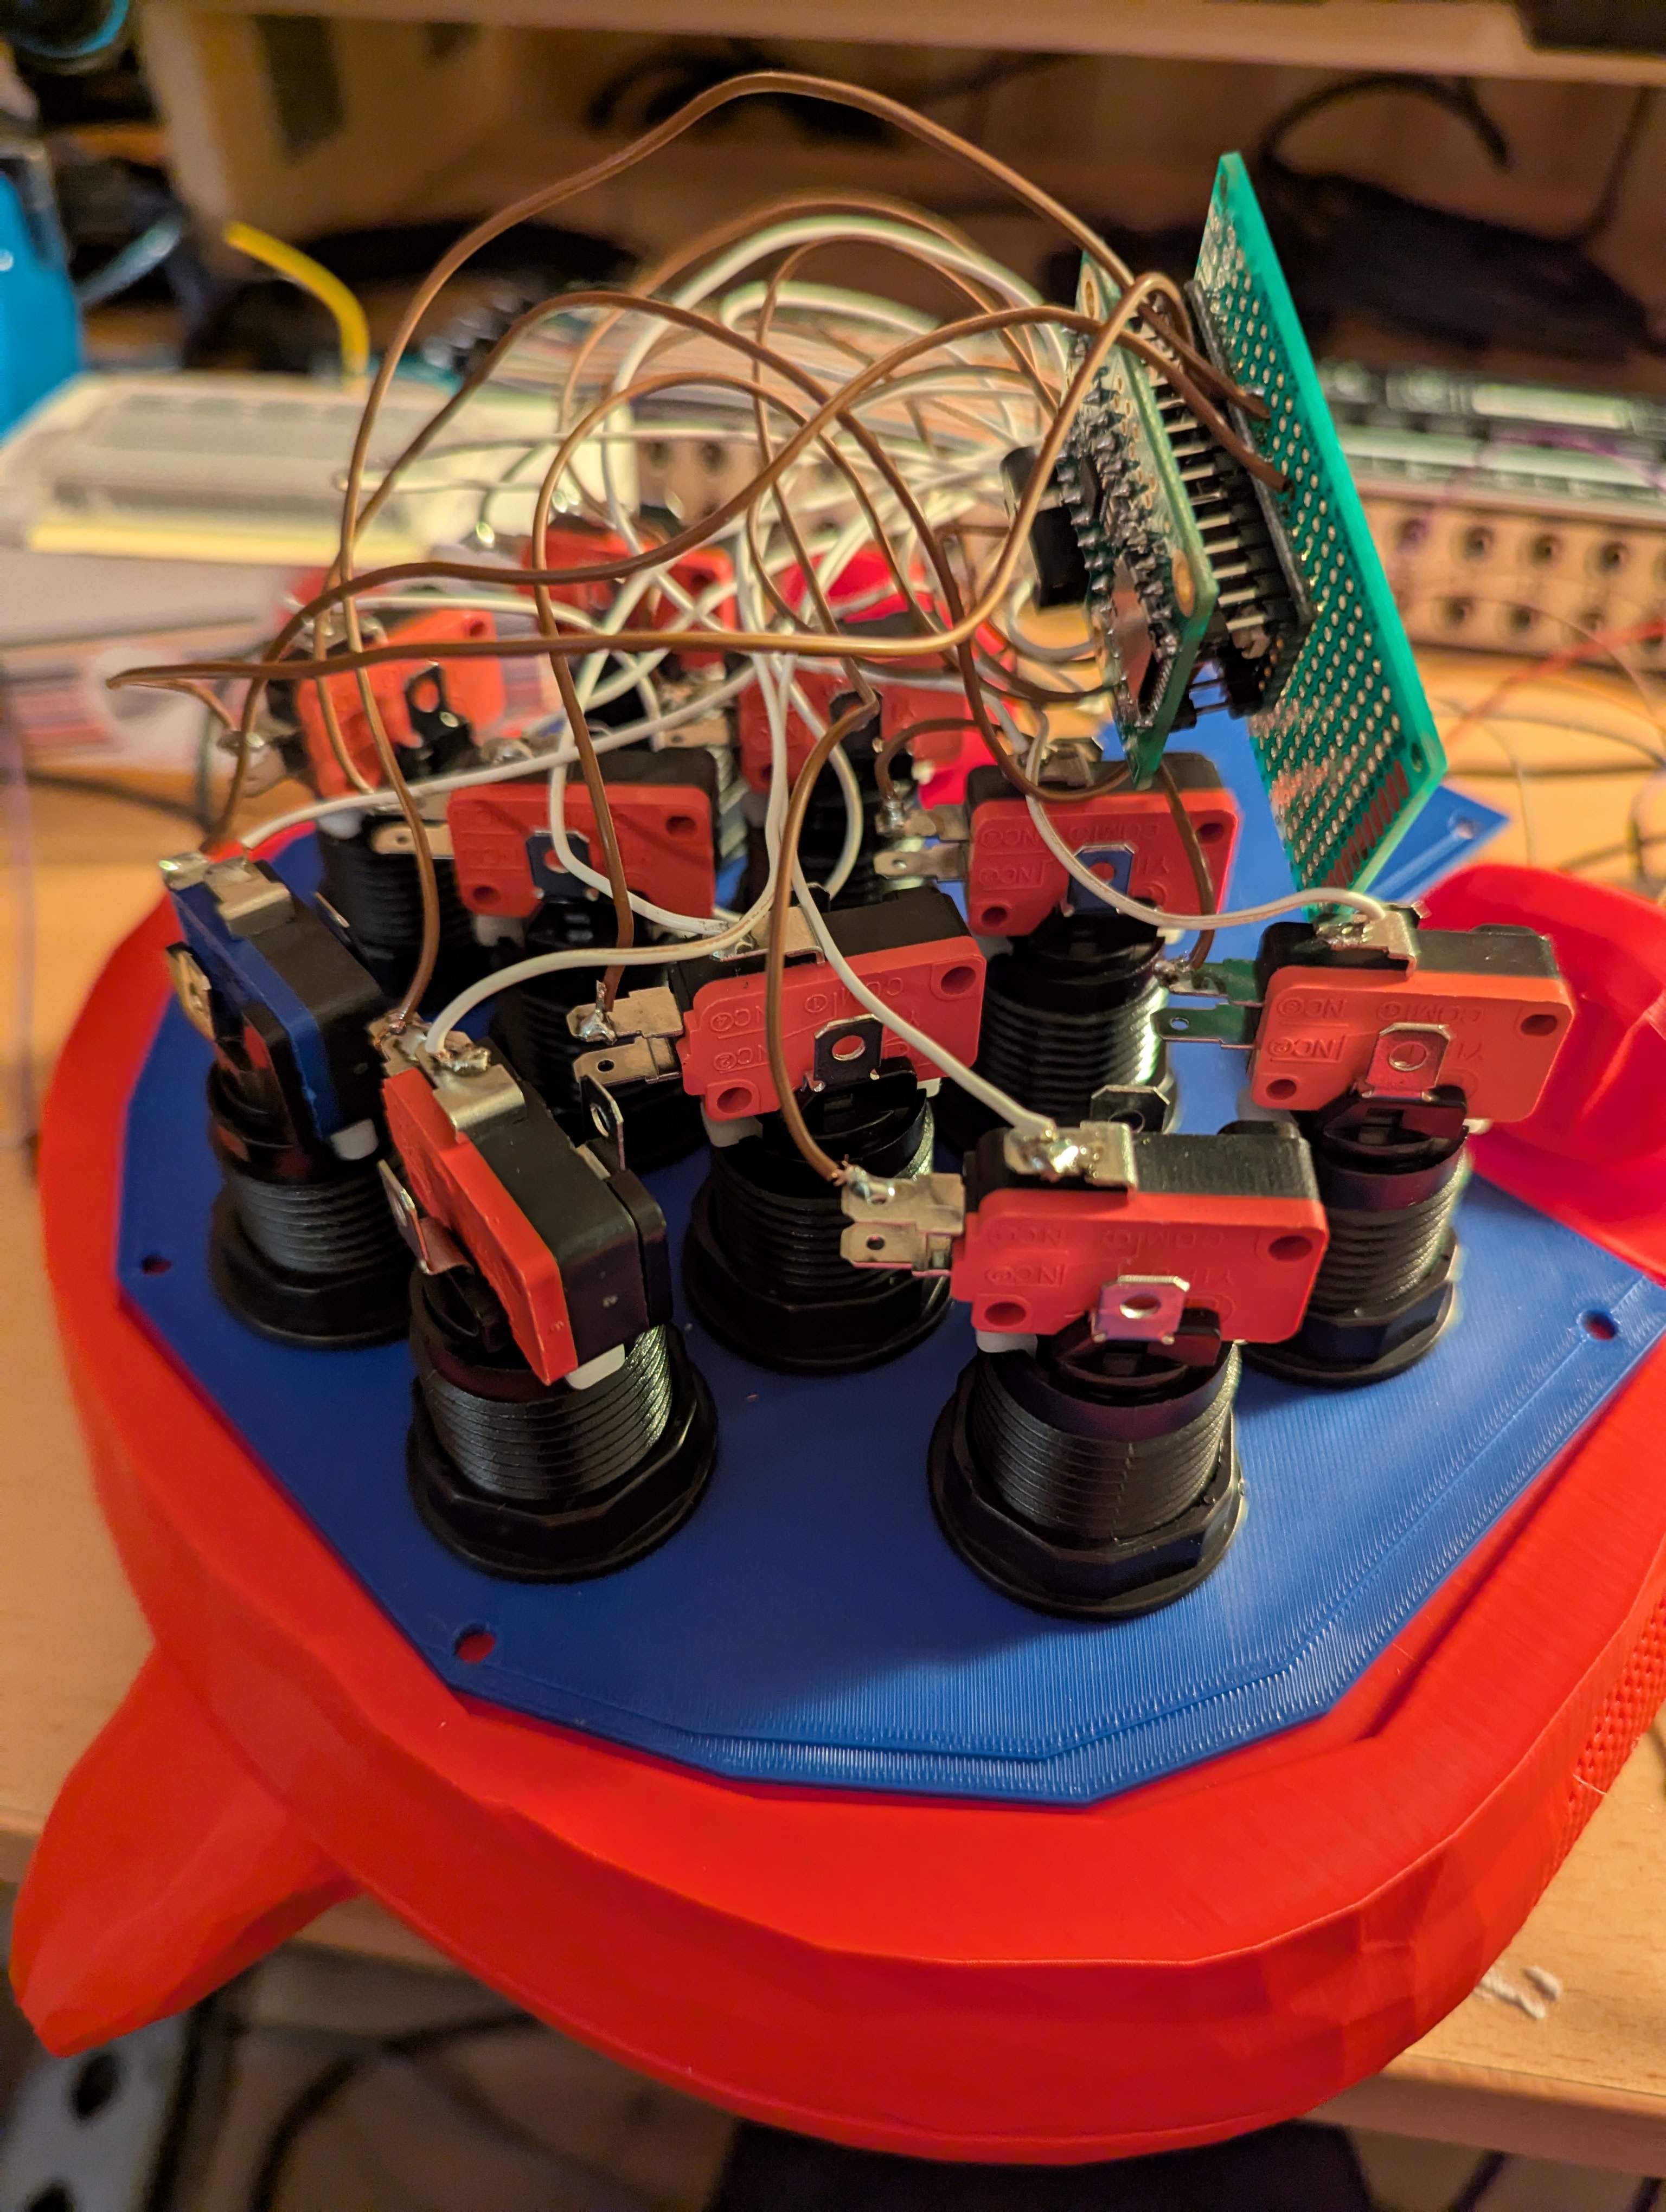
Completed plate setup with all buttons attached.
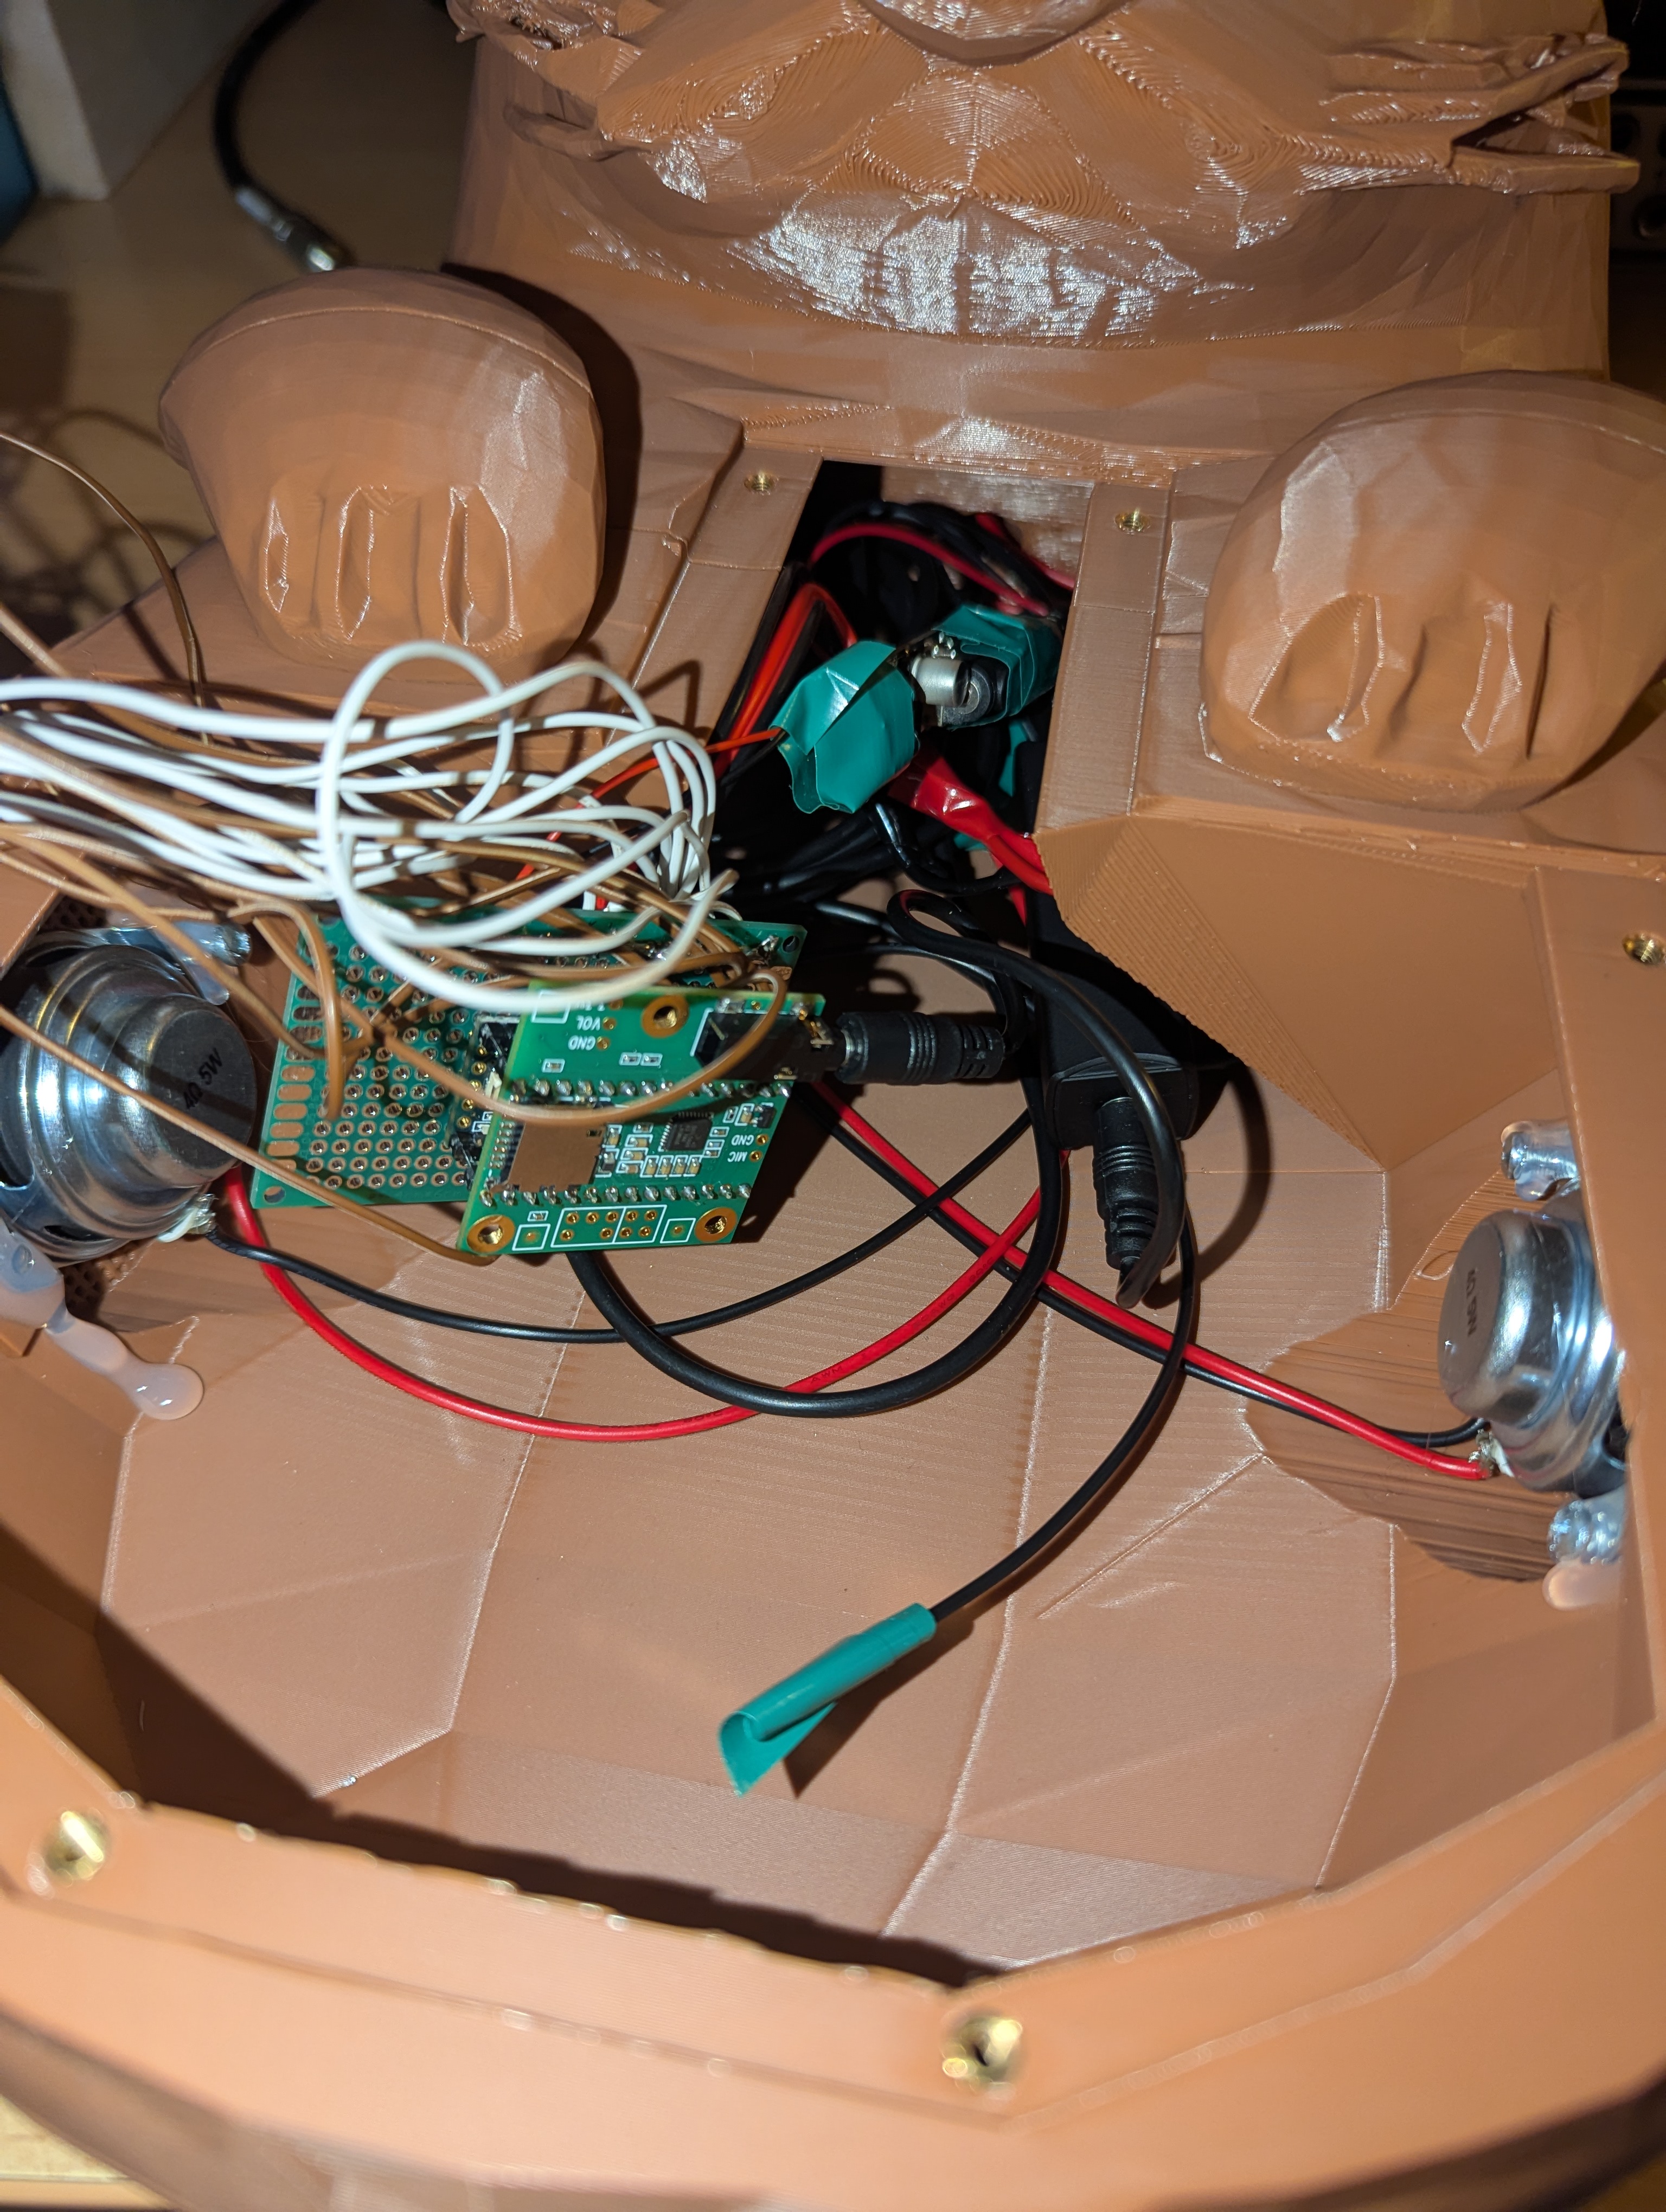
Inside of the finished otter.
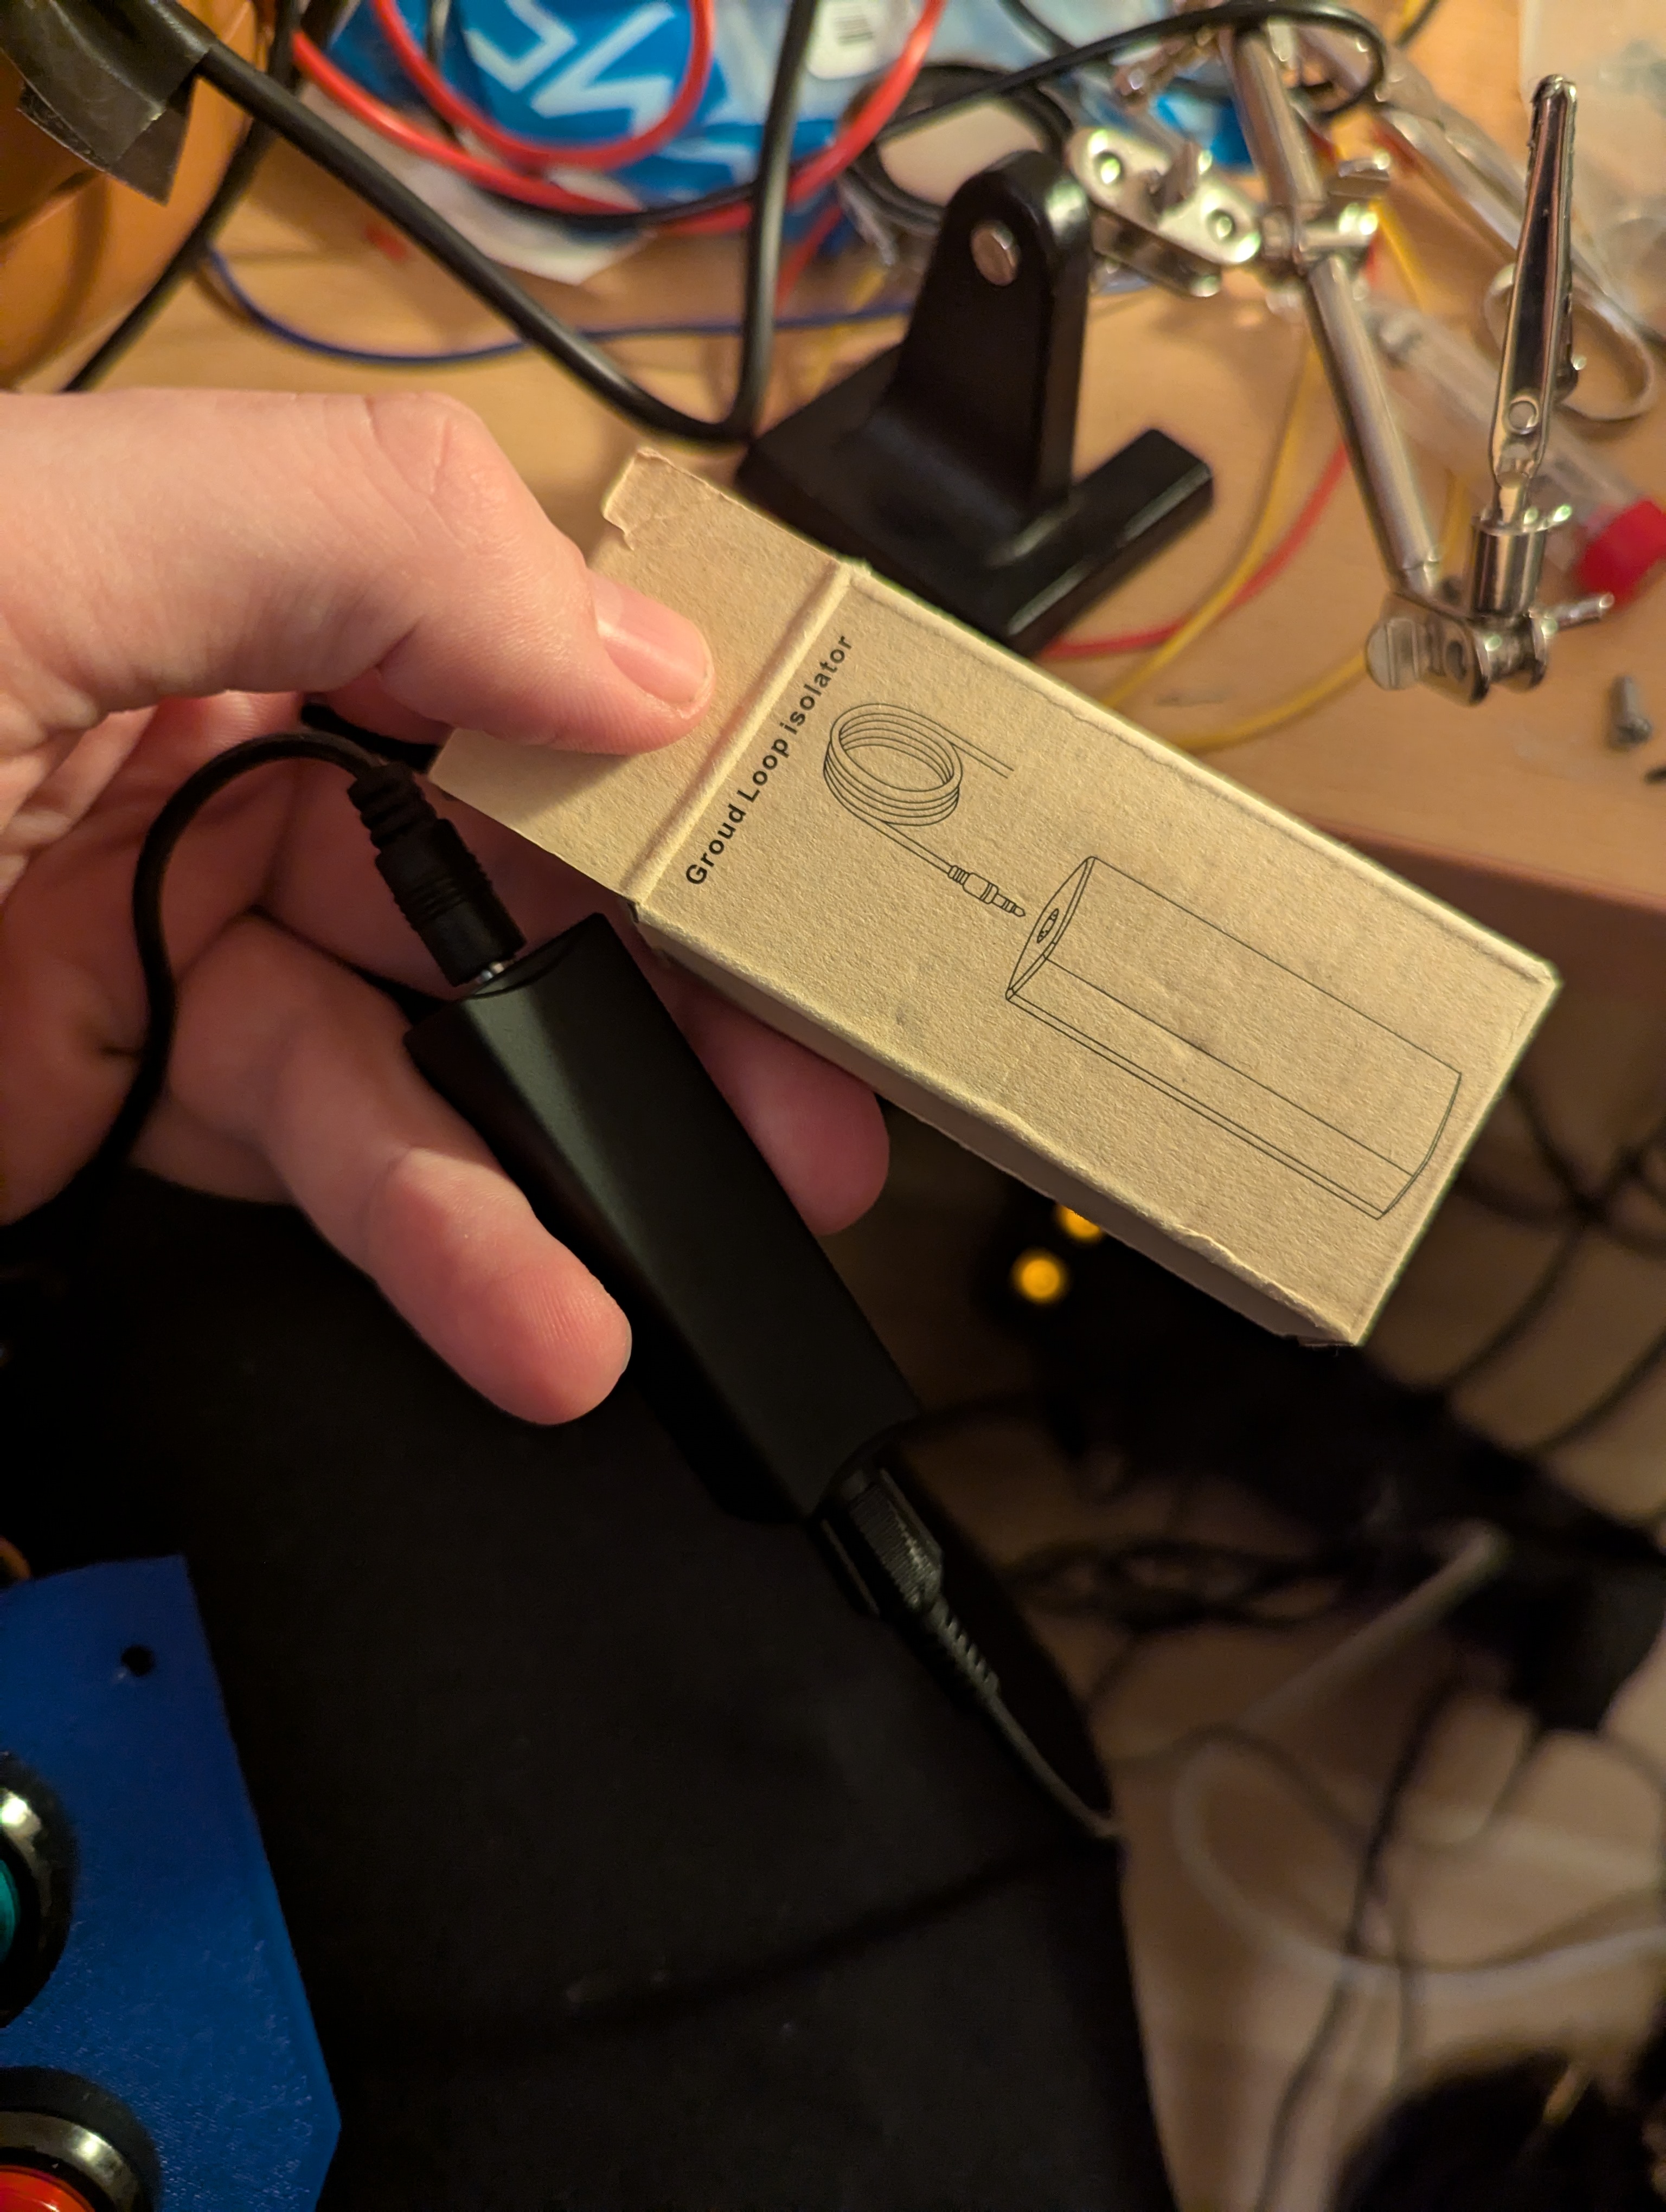
Ground loop
After I connected the setup and switched the power supply of the teensy from USB to the stepped down 5V VIN, i had a constant hum on the speakers.
This is called a ground loop. A ground loop occurs when multiple devices share more than one path to ground, creating an unintended loop.
In my case this was the commong ground of the power as well as the audio jack cable.
Top combat this I used a ground loop isolator. This fixed the problem.
Finished product
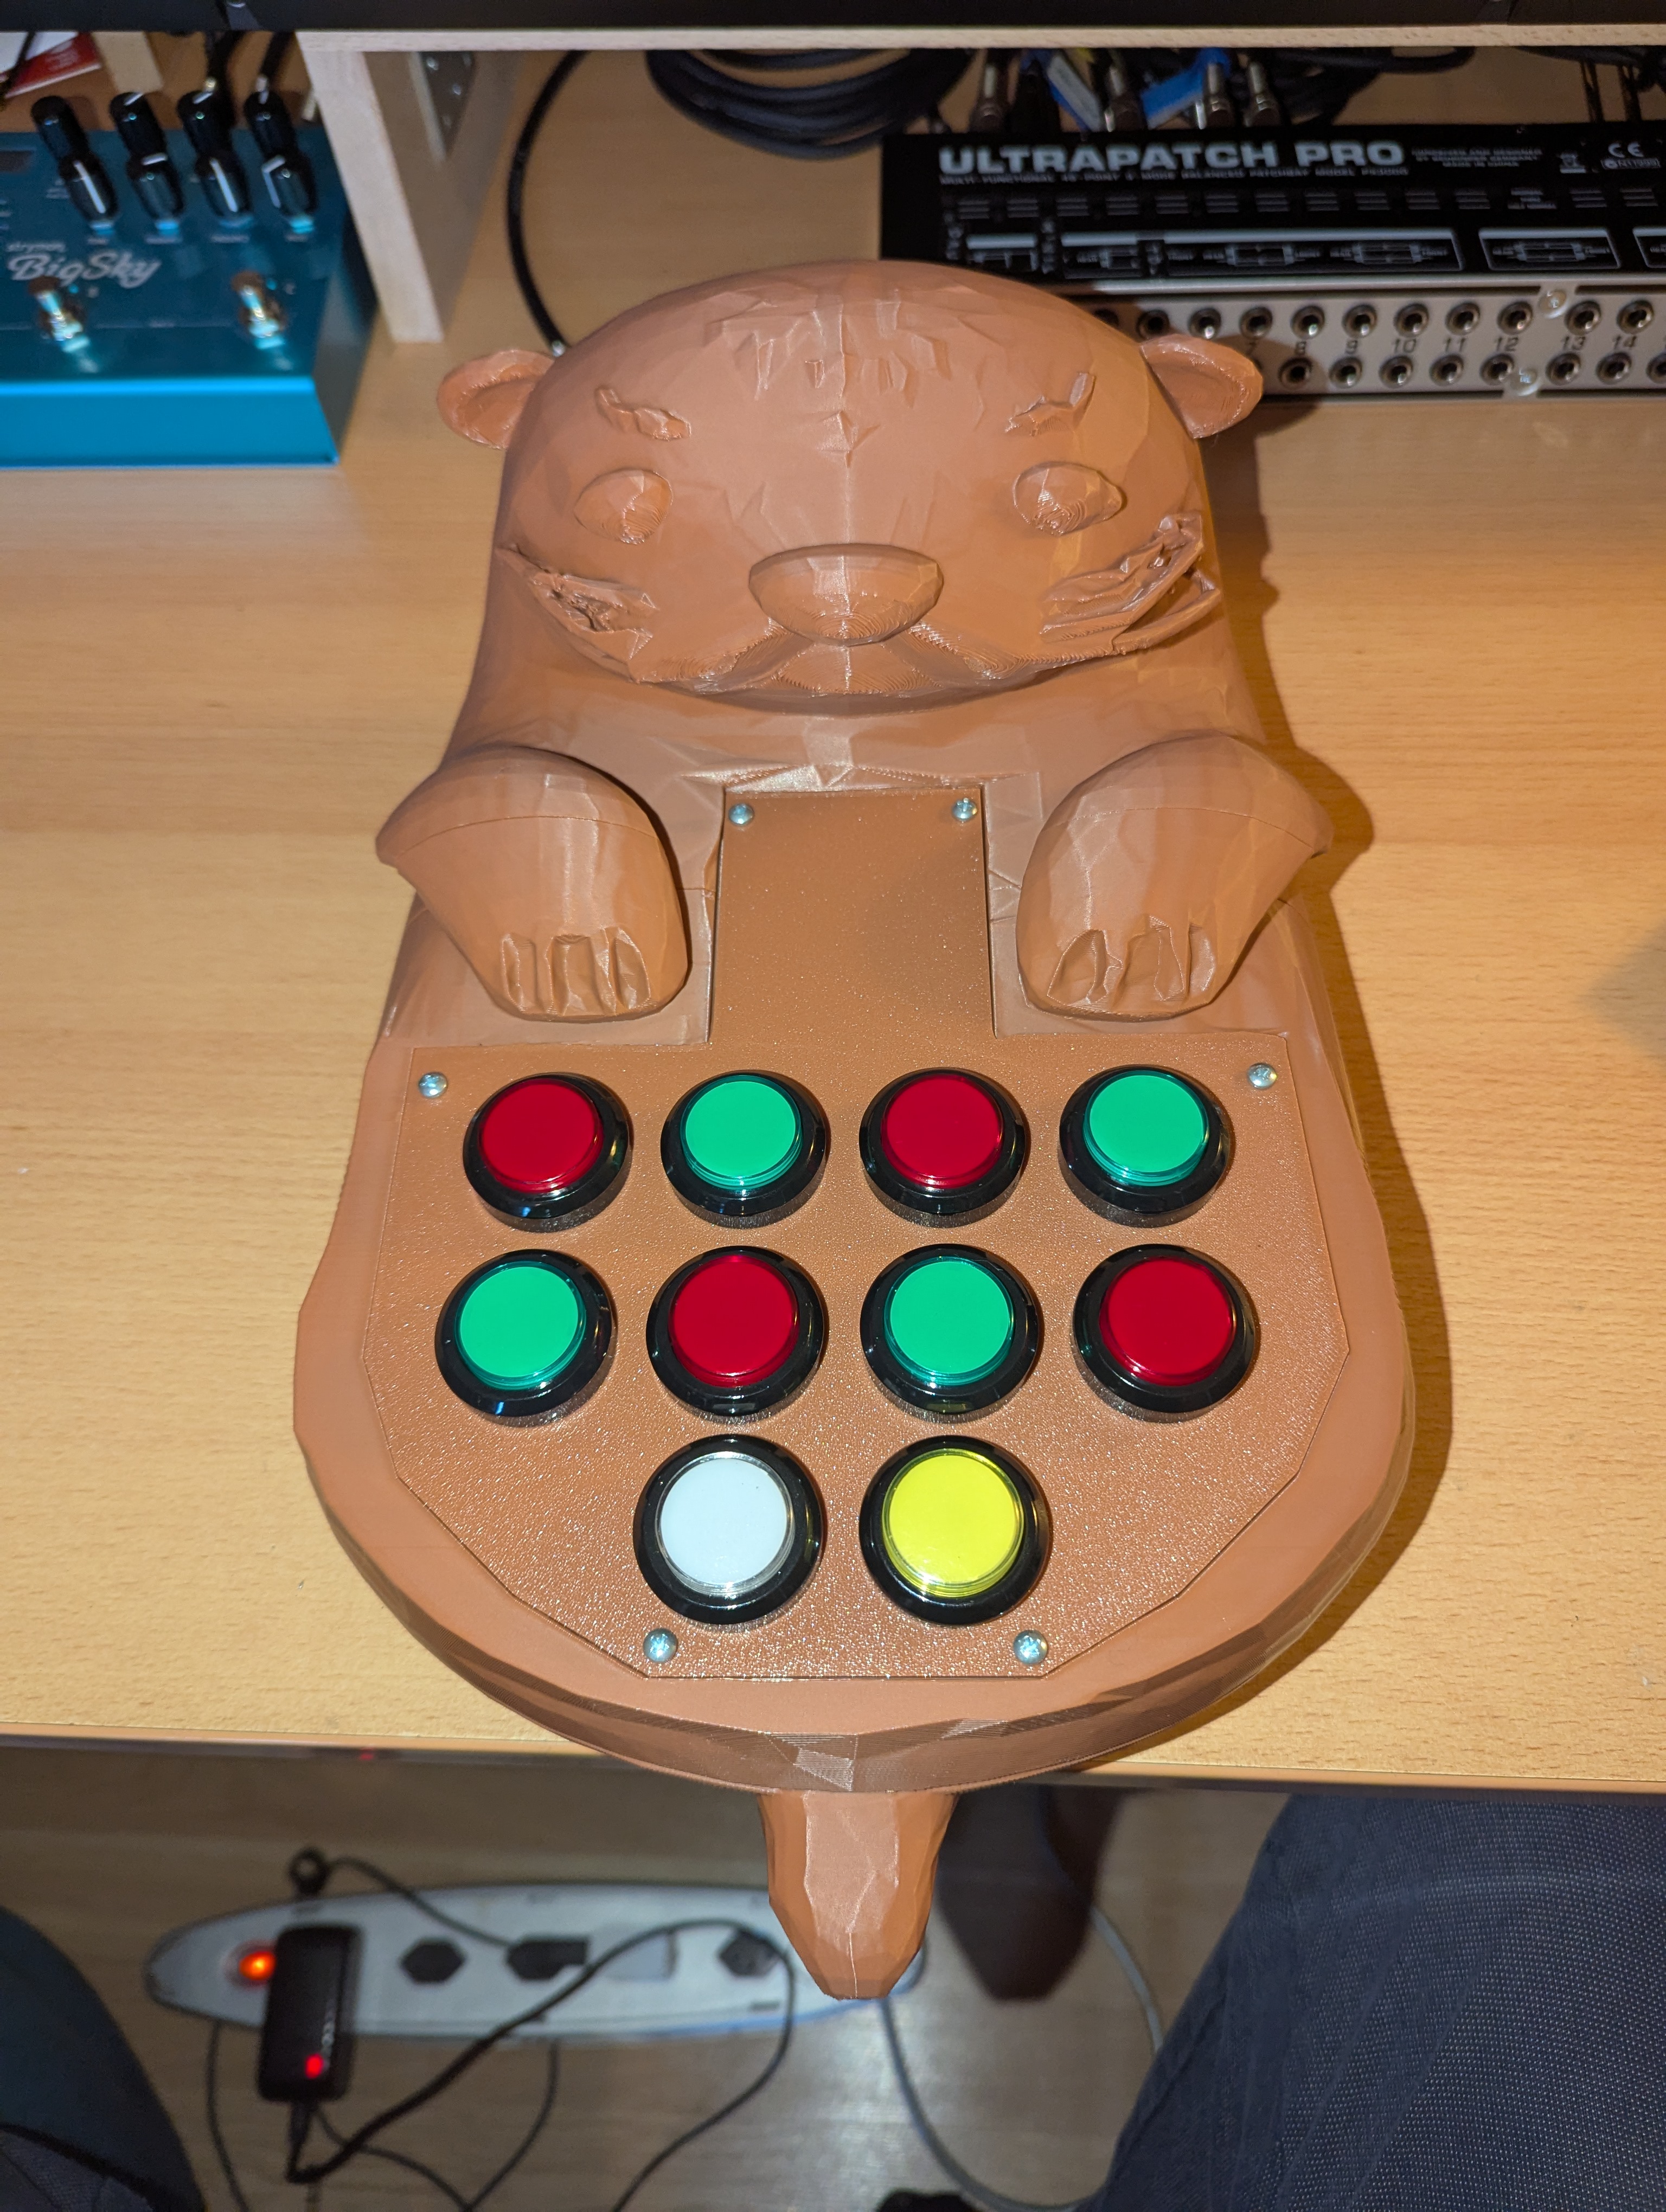
Top view of the synth.
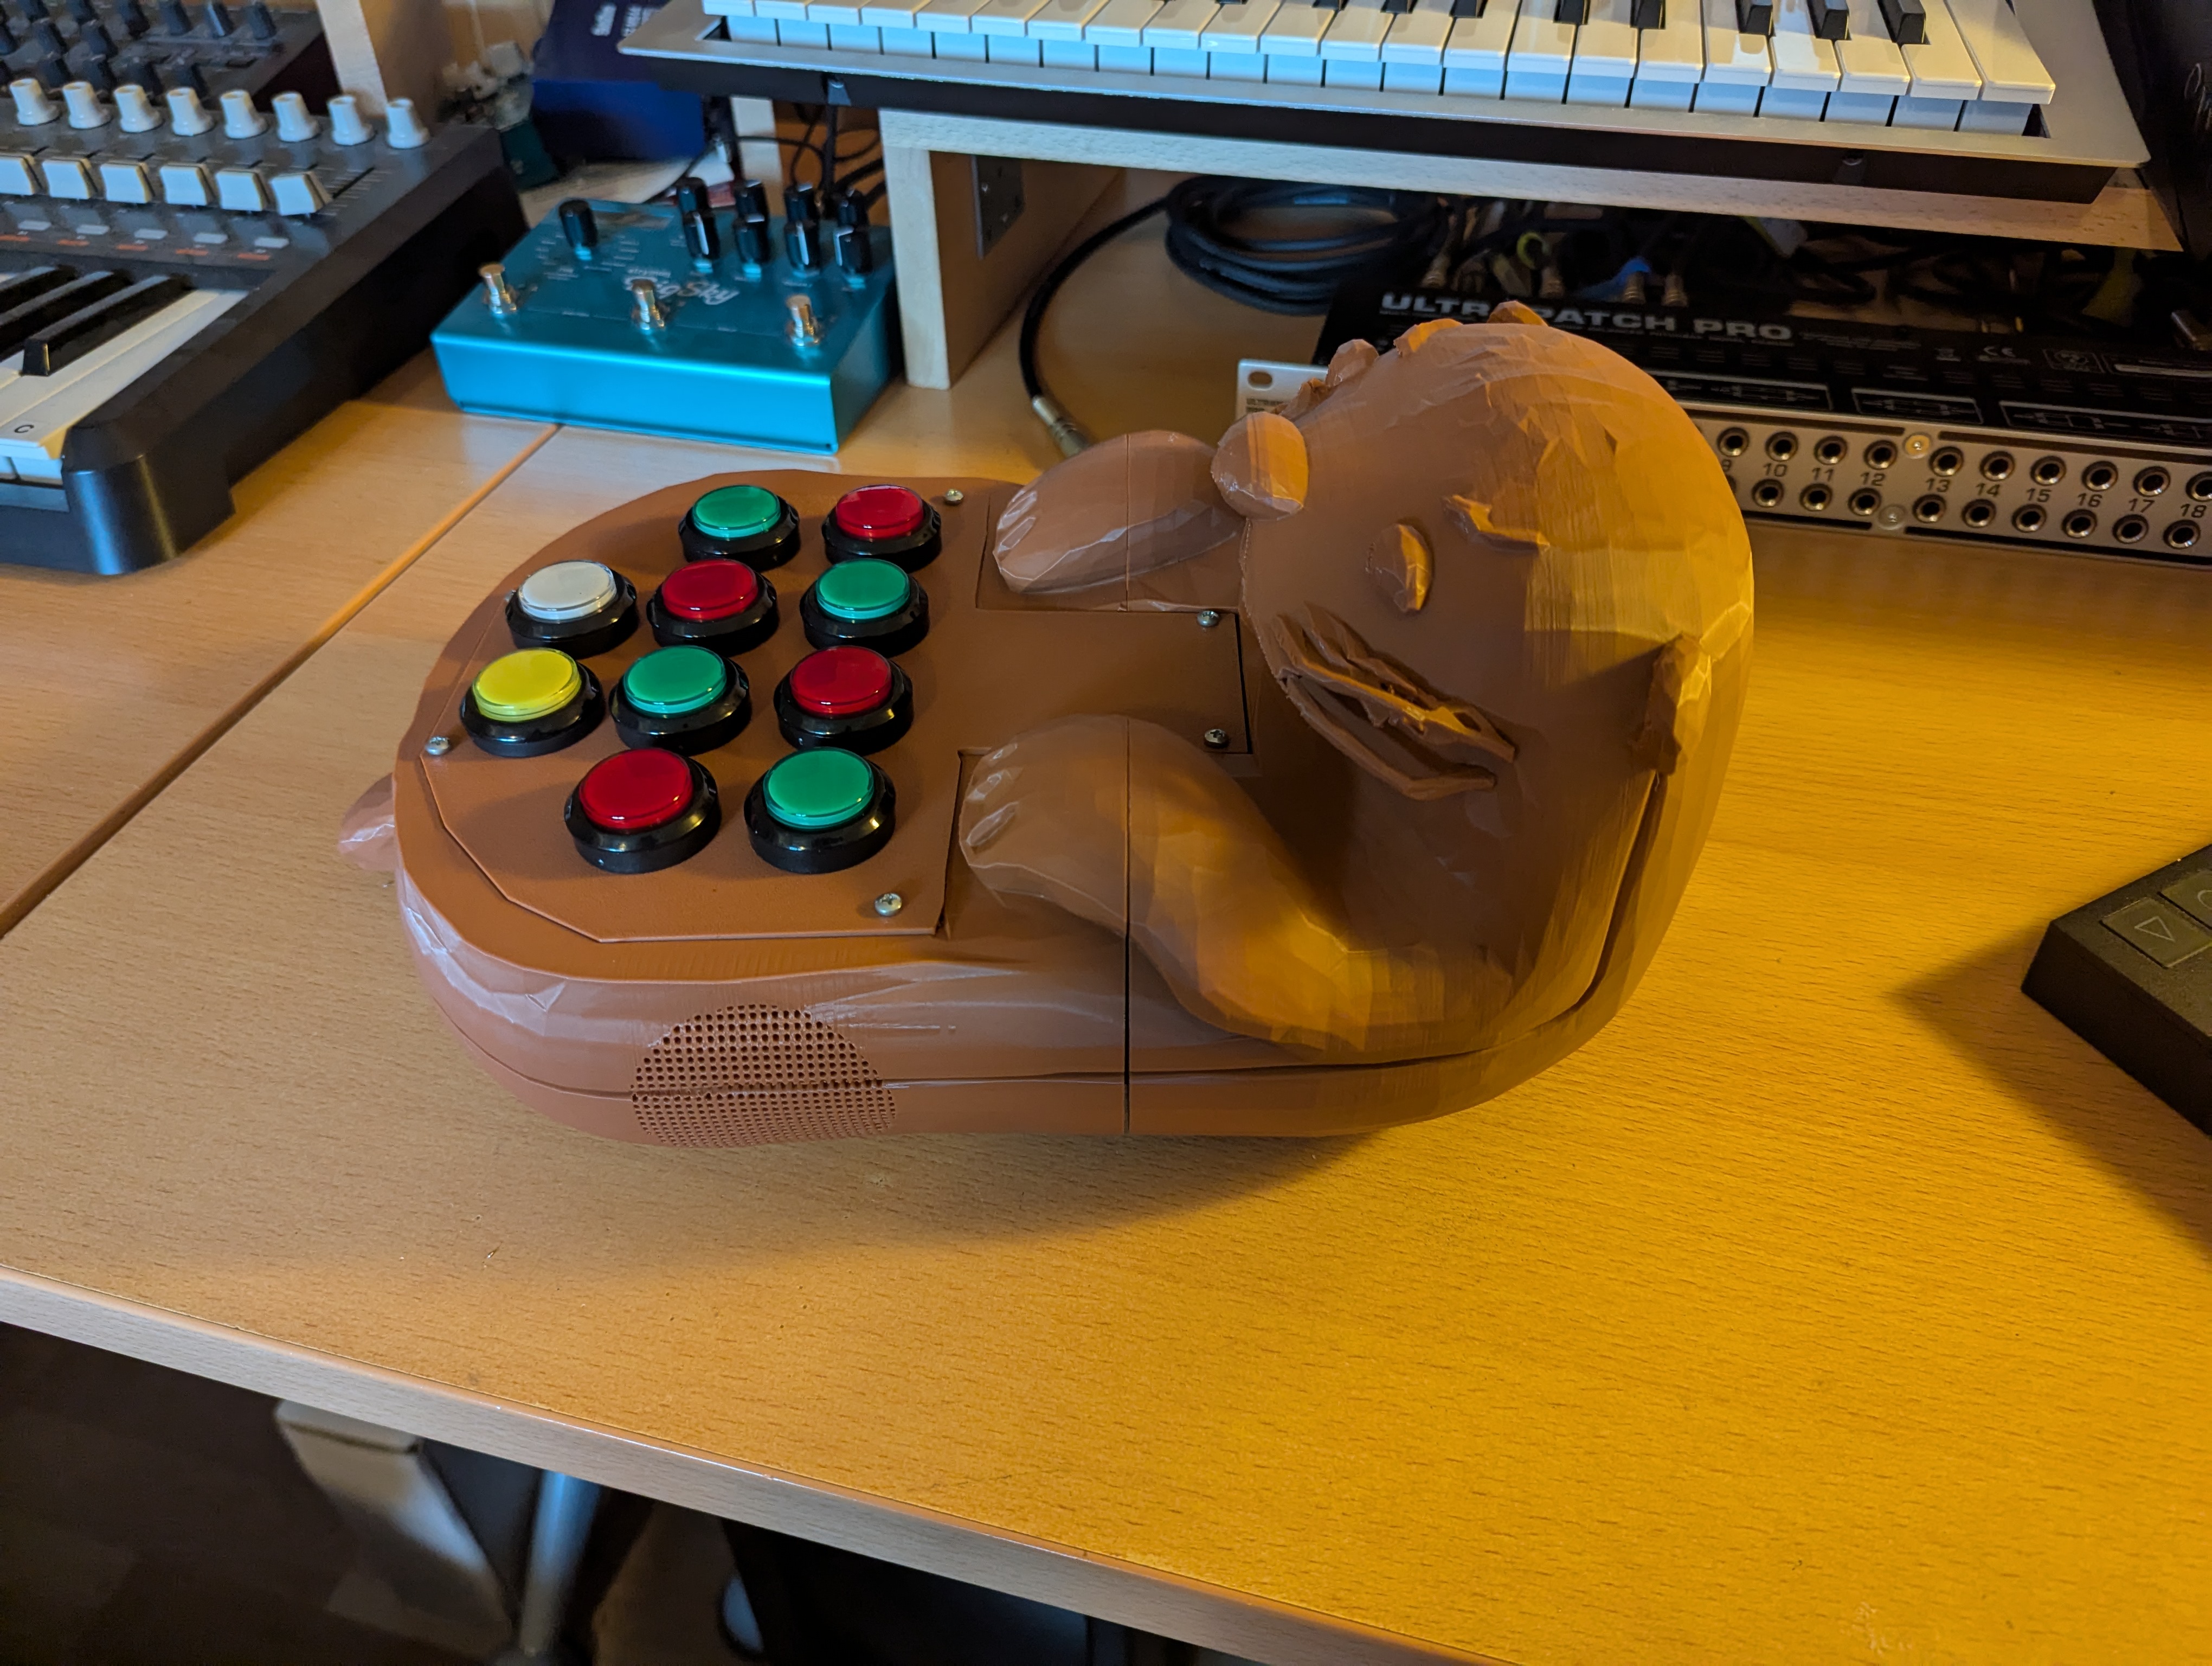
Side view of the synth.
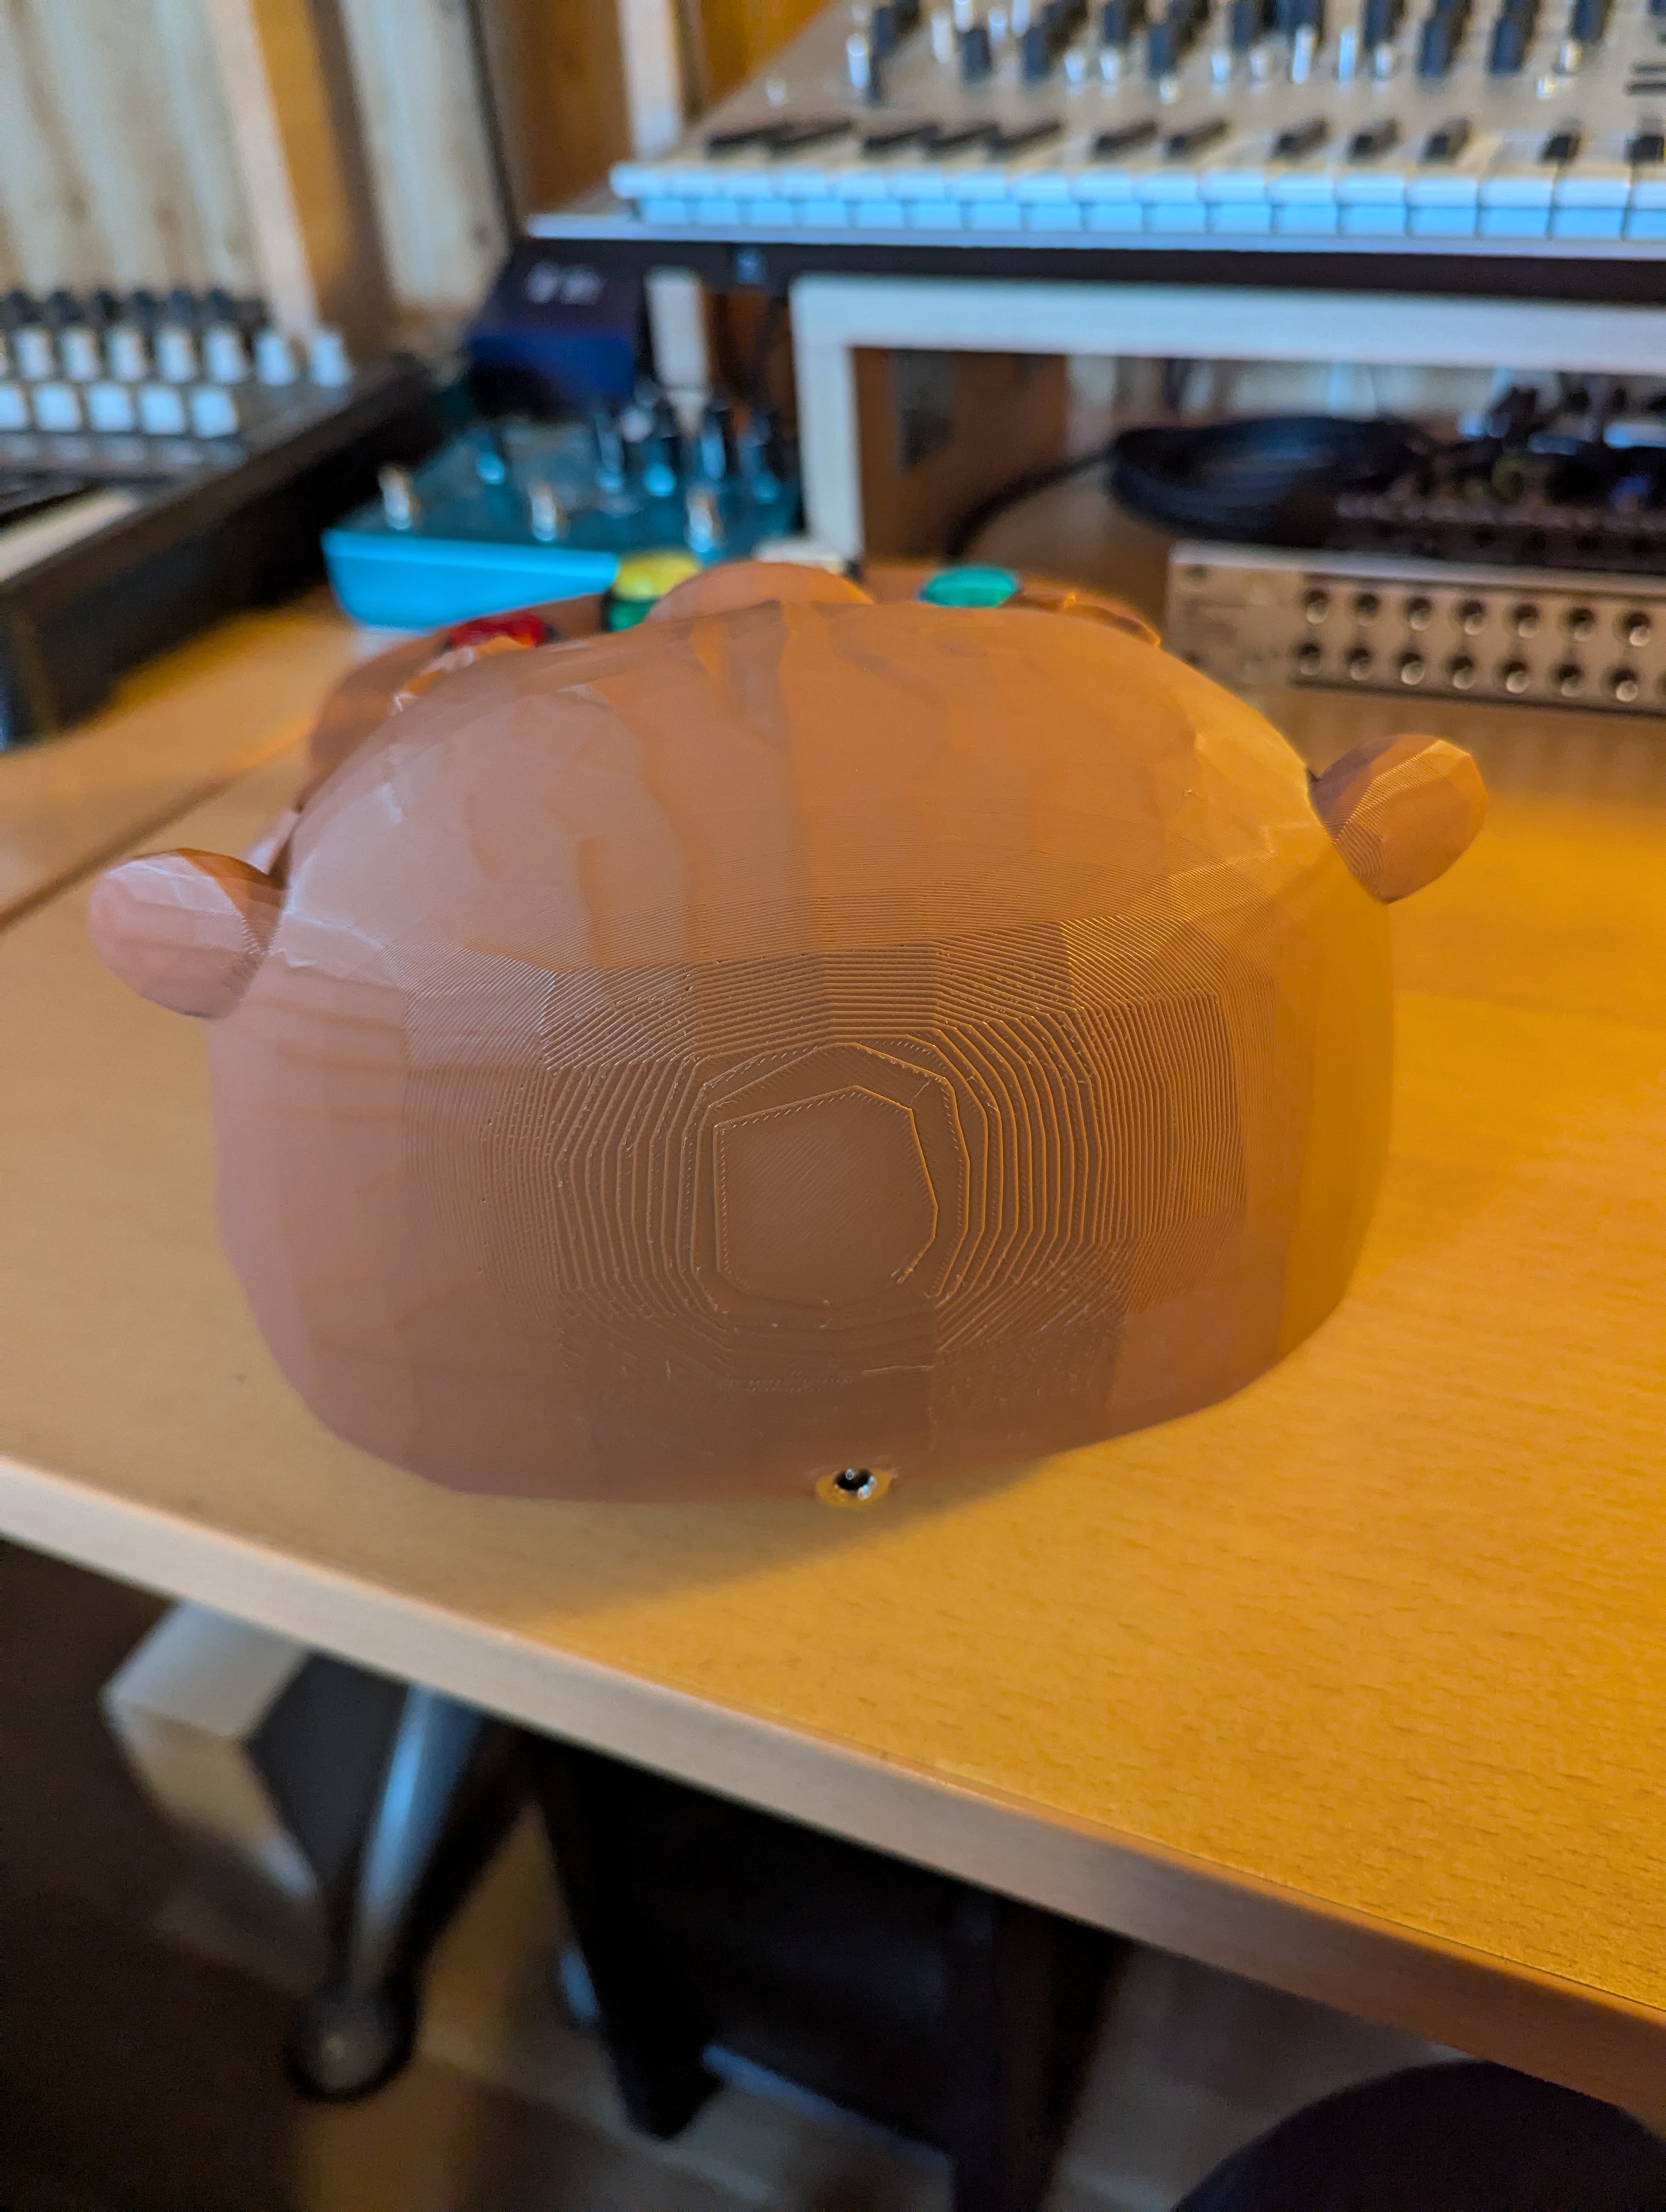
Back view of the synth, with the power plug.
Final Project Files
You can find the blender project and the 3d STL file in in the repo.
Software
The project began with basic sketches in the Arduino IDE, but as the software evolved, I transitioned to PlatformIO for enhanced code management and scalability.
The complete codebase is available in the otteri-synth-code directory.
I wanted to have multiple voices, in order to be able to not only play 1 key at a time. This was done by mutiplying the whole virtual audio setup 3 times and defining a common output to i2s.
I'm making heavy use of the Teensy Audio Library library.
Demo
A demo of the sounds it makes before it got assambled: Pre-assembly demo video.
And the final demo after it has been assembled: Final demo video.
Personal conclusion & learnings
This project was incredibly rewarding and enjoyable, serving not only as a creative outlet but also as a significant learning experience.
Throughout the process, I deepened my understanding of hardware integration, 3D printing nuances, and audio electronics.
Iterating through multiple prototypes highlighted the importance of adaptability, particularly when refining the 3D design and addressing unexpected technical challenges, such as the ground loop issue.
The synth turned out exactly as envisioned - playful, robust, and inviting to young hands eager to explore music. I'm excited to see how my daughter interacts with the Otteri-synth, and I'm hopeful it sparks a lasting curiosity and joy for music creation.
Future projects are already planned. Next time with more advanced controls and the Teensy 4.1 as controller.